How to Reduce Wind and Background Noise in iPhone IRL Streams
Reduce wind and background noise in iPhone IRL streams with mic placement, VISP audio isolation, OBS filtering, and a repeatable field test.
By VISP Team ·
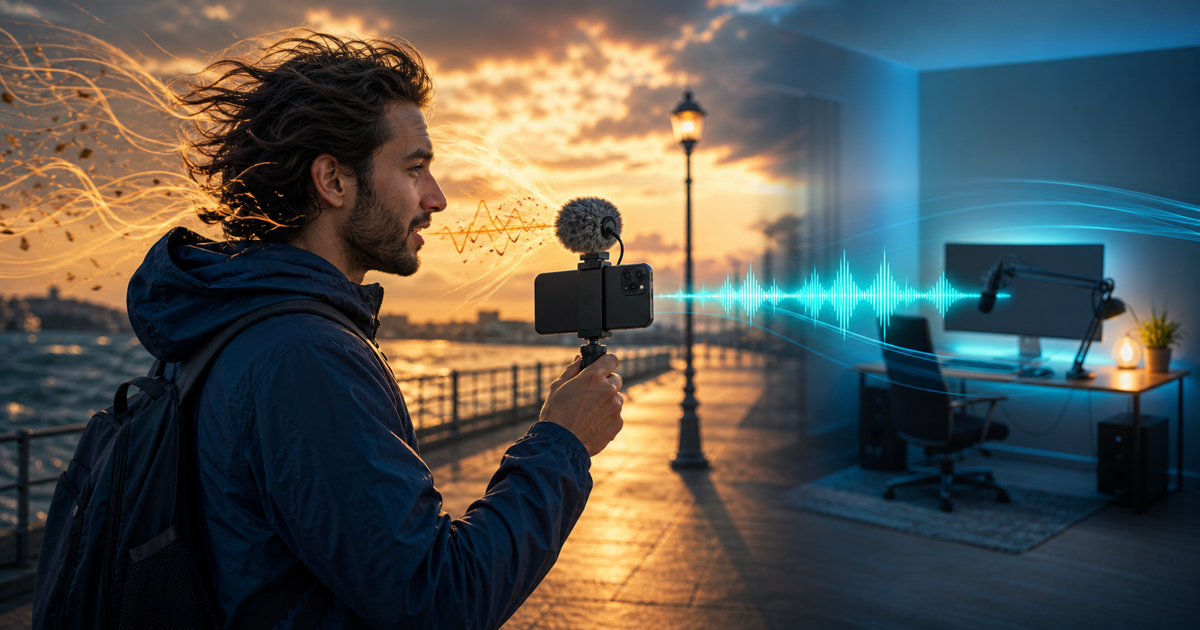
Wind can ruin an IRL stream even when the picture and mobile connection are excellent. The usual mistake is treating every unwanted sound as the same problem. Wind hitting a microphone, a loud crowd, steady background hum, and clipping need different fixes. One aggressive noise filter cannot repair all four, and it can make speech sound thin or unstable.
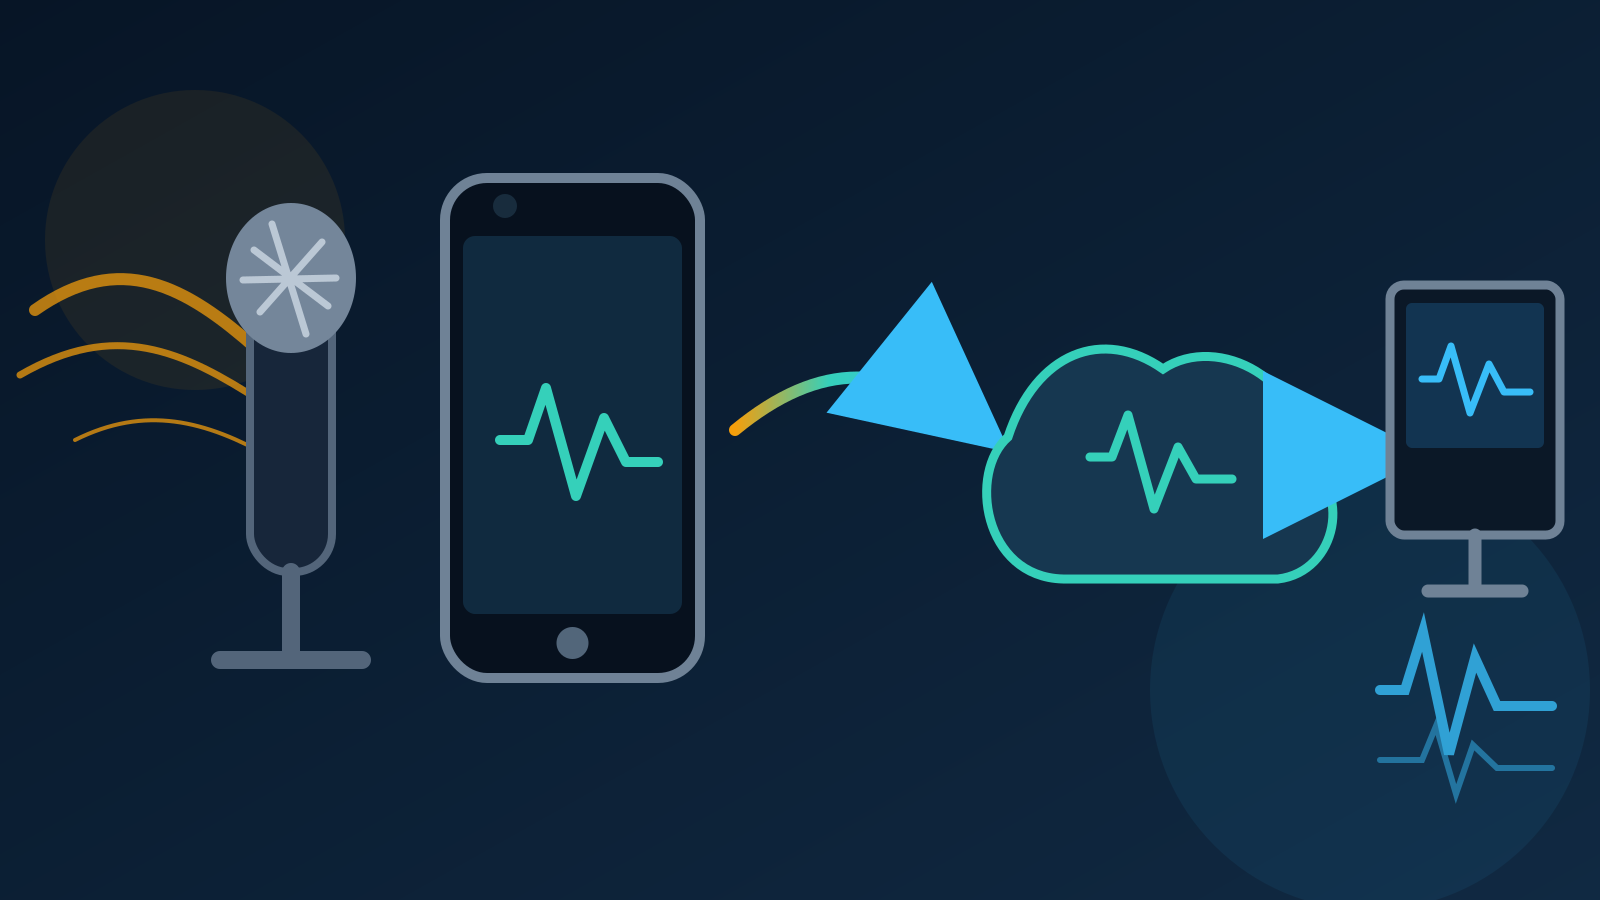
For an iPhone-to-OBS workflow, use this order: stop wind before it reaches the microphone, choose the right input, apply one appropriate isolation layer, and judge the result from an OBS recording. That keeps the solution understandable when you are outside and about to go live on Twitch or Kick.
The short answer: fix the earliest bad stage
Start with the sound you actually hear, not the filter you happen to know:
| Symptom | First action |
|---|---|
| Low rumble or bursts when air reaches the microphone | Add a correctly fitted windscreen and move the microphone out of direct wind |
| Voice is clear but traffic or a crowd competes with it | Move the microphone closer, then test VISP Audio isolation on iPhone |
| Mild steady noise remains in the home OBS mix | Test one OBS Noise Suppression filter on the phone source |
| Loud words crackle or sound flattened | Reduce input gain or change the microphone position; suppression cannot undo clipping |
| Ambient sound is part of the story | Leave isolation off or use it lightly so the scene still sounds real |
| Audio becomes late after hosted processing | Record a clap test and correct only the measured difference |
This sequence matters because every later stage receives what the earlier stage captured. If wind overloads the microphone capsule, software only sees a badly damaged signal. If the microphone is clean and the remaining noise is mild, software has a much easier job.
1. Stop wind at the microphone
A foam cover is useful for breath and light air movement, but an exposed phone microphone is a poor target in a waterfront gust. Use a windscreen intended for the microphone you carry and fit it as its manufacturer directs. Shure's windscreen guide, for example, describes a windscreen as protection against unwanted breath and wind noise in outdoor use. The exact accessory differs by microphone; the useful principle is the physical barrier, not that particular model.
Placement is just as important:
- Put the microphone near the speaker instead of increasing gain from a distance.
- Keep it out of the direct airflow around a moving hand, bicycle, open car window, or waterfront.
- Stop fabric, straps, and cables from rubbing the microphone or connector.
- If using a wireless or wired external microphone, confirm the iPhone has actually selected it before leaving the studio.
- Record walking, turning, and a realistic speaking voice. A stationary indoor test does not reveal handling or wind problems.
Do not remove every environmental sound by default. Footsteps, a crowd, and a venue can be useful parts of an IRL broadcast. The aim is intelligible speech without destructive wind bursts, not studio silence at all times.
2. Select the input before enabling isolation
In the VISP iPhone app, stop publishing before changing the microphone. Open Settings → Audio, choose System default or the named input you intend to use, and speak while watching the microphone level.
Disconnect or cover the intended microphone briefly. If the level keeps moving normally, the phone is probably capturing another input. Correct that before touching isolation. A clean filter on the wrong microphone is still the wrong audio.
The native VISP app combines the selected microphone with the H.264 camera feed and publishes the contribution over SRT. The normal relay path authenticates and forwards that feed; it does not transcode or normalize the phone audio on the way into OBS. See the phone app documentation for the current capture and publishing workflow.
3. Turn on VISP Audio isolation on iPhone
With the stream stopped, open Settings → Audio and enable Audio isolation. The switch is currently an iOS feature; it is not shown in the Android or browser publisher.
VISP then uses the iPhone's native voice-processing path. If iOS opens its microphone-mode sheet, choose Voice Isolation. Apple's current Mic Mode guidance says Voice Isolation blocks ambient noise to make speech clearer, while Wide Spectrum leaves ambient sound unfiltered. Apple also notes that the selected mode is specific to the app, so a setting used in a phone call should not be assumed to be active in VISP.
Start a test contribution and record these four samples in OBS:
- ten seconds of the real background without speech;
- normal speech facing the microphone;
- speech while walking and turning;
- one intentionally loud sentence.
Listen for more than reduced noise. Check whether word endings disappear, whether the voice becomes metallic, and whether wanted venue sound is lost. Voice isolation is a speech-first choice. Turn it off when the sound of a band, street performance, crowd, or nature scene is the content rather than noise.
4. Know when Better audio isolation is different
Some VISP accounts expose a second Better audio isolation switch after Audio isolation is enabled. It is not merely a stronger setting for the same local processor.
| Mode | Where processing happens | Practical trade-off |
|---|---|---|
| Audio isolation | On the iPhone's native audio path | No hosted audio-isolation round trip; best first software test |
| Better audio isolation | Hosted processing through the VISP app host and ElevenLabs | Can remove more complex background sound, but uses extra upload and adds about half a second of delay |
| OBS Noise Suppression | On the home OBS computer after the feed arrives | Useful for mild residual noise in an OBS output; does not clean a VISP Direct output that bypasses OBS |
The hosted VISP path sends short 16 kHz mono PCM chunks through an authenticated app endpoint to ElevenLabs. ElevenLabs documents its Audio Isolation streaming endpoint as removing background noise from audio and supports that same raw PCM format. Because this is external processing, treat it differently from the on-device option when evaluating latency, uplink use, and your production's privacy requirements.
Better audio isolation appears only when the feature is enabled for the account, and the VISP deployment also needs the hosted provider configured. If the switch is absent, the native option remains the ordinary path; do not build a show plan around an unavailable flag.
After enabling hosted isolation, repeat the same recording and add a visible hand clap. The app deliberately buffers roughly half a second of audio for each processing request, so verify lip sync from the resulting file. Do not copy a sync offset from another phone or network. Measure this particular device, microphone, and route.
5. Add OBS suppression only for mild residual noise
If the phone contribution sounds good but a mild steady noise remains, OBS can process the Media Source before the final Twitch or Kick output:
- In the OBS Audio Mixer, open Filters for the VISP phone source.
- Add Noise Suppression.
- Start with RNNoise and make a short local recording.
- Compare it with the filter disabled at the same listening volume.
- Keep the filter only if speech improves without audible pumping or missing syllables.
OBS's official Noise Suppression Filter guide says the filter is intended for mild background or white noise and is generally not effective against large amounts of noise such as a loud room. It also warns that stronger Speex suppression can distort other sounds, including the voice. That is why an OBS filter belongs after microphone placement, not before it.
Avoid stacking native isolation, hosted isolation, and a strong OBS filter just because all three are available. Test one change at a time. Multiple speech processors can each interpret the previous processor's artifacts as noise and remove more than you intended.
The OBS filter affects only the OBS program. If VISP Direct is sending the phone contribution to Twitch, Kick, or both without OBS in the delivery path, an OBS filter cannot change what those viewers hear. Clean the sound at the iPhone in that workflow. The VISP Direct overview explains when the platform output bypasses OBS.
6. Judge the result from a recording, not a meter
A level meter tells you that audio exists and whether peaks approach clipping; it cannot tell you whether wind masks consonants or isolation damages a voice. OBS's current Audio Mixer Guide recommends checking the signal at the device and again in OBS, then recording and listening back before going live.
Use headphones and compare files at a similar playback level. A quieter sample can seem cleaner even when no noise was removed. Include silence, speech, a loud moment, movement, and a clap in every comparison.
For a remote operator, also verify the public output from a second muted device. The local OBS recording proves the phone contribution and final mix; the platform check proves that the intended Twitch or Kick audio track reached viewers.
A field checklist for the next IRL stream
Before leaving:
- fit and secure the correct windscreen;
- connect the intended microphone and select it in VISP;
- choose whether environmental sound is content or noise;
- enable native Audio isolation only when speech should dominate;
- use Better audio isolation only when available and justified by the test;
- record a movement, loudness, and clap test in OBS;
- apply at most one mild OBS suppression filter if needed;
- save the tested scene and monitoring setup;
- carry a fallback microphone or be ready to return to the built-in input;
- repeat a short check at the real location because indoor rehearsal cannot reproduce its wind and crowd.
VISP does not create a good microphone signal after the fact, and its normal relay does not transcode audio or bond network capacity. It gives the iPhone a managed contribution path into the home studio, where you can inspect and mix the result before it reaches Twitch or Kick.
If your problem is silence, echo, clipping, or a fixed delay rather than background noise, use the phone-camera audio troubleshooting guide. For the complete source setup, follow How to Use Your Phone as a Remote Camera in OBS and the VISP getting-started guide. Then try VISP with one test scene and keep the isolation mode that survives a real outdoor recording, not just a quiet desk test.
Bring the field into your OBS studio
Try VISP free during beta. You never have to paste a stream key anywhere.
Try VISP free